鸿顺里网站建设室内设计效果图用什么软件最好
一、实验要求
1、使用mysql:5.6和 owncloud 镜像,构建一个个人网盘。
2、安装搭建私有仓库 Harbor
3、编写Dockerfile制作Web应用系统nginx镜像,生成镜像nginx:v1.1,并推送其到私有仓库。具体要求如下:
(1)基于centos基础镜像;
(2)指定作者信息;
(3)安装nginx服务,将提供的dest目录(提供默认主页index.html)传到镜像内,并将dest目录内的前端文件复制到nginx的工作目录;
(4)暴露80端口;
(5)设置服务自启动。
(6)验证镜像。
4、Dockerfile快速搭建自己专属的LAMP环境,生成镜像lamp:v1.1,并推送到私有仓库。具体要求如下:
(1)基于centos:6基础镜像;
(2)指定作者信息;
(3)安装httpd、mysql、mysql-server、php、php-mysql、php-gd;
(4)暴露80和3306端口;
(5)设置服务自启动。
(6)验证镜像。
二、实验步骤
1.使用mysql:5.6和 owncloud 镜像,构建一个个人网盘
[root@localhost ~]# systemctl stop firewalld
[root@localhost ~]# setenforce 0
[root@localhost ~]# docker pull mysql:5.6
[root@localhost ~]# docker pull owncloud
[root@localhost ~]# docker run -d --name db --env MYSQL_ROOT_PASSWORD=123456 mysql:5.6
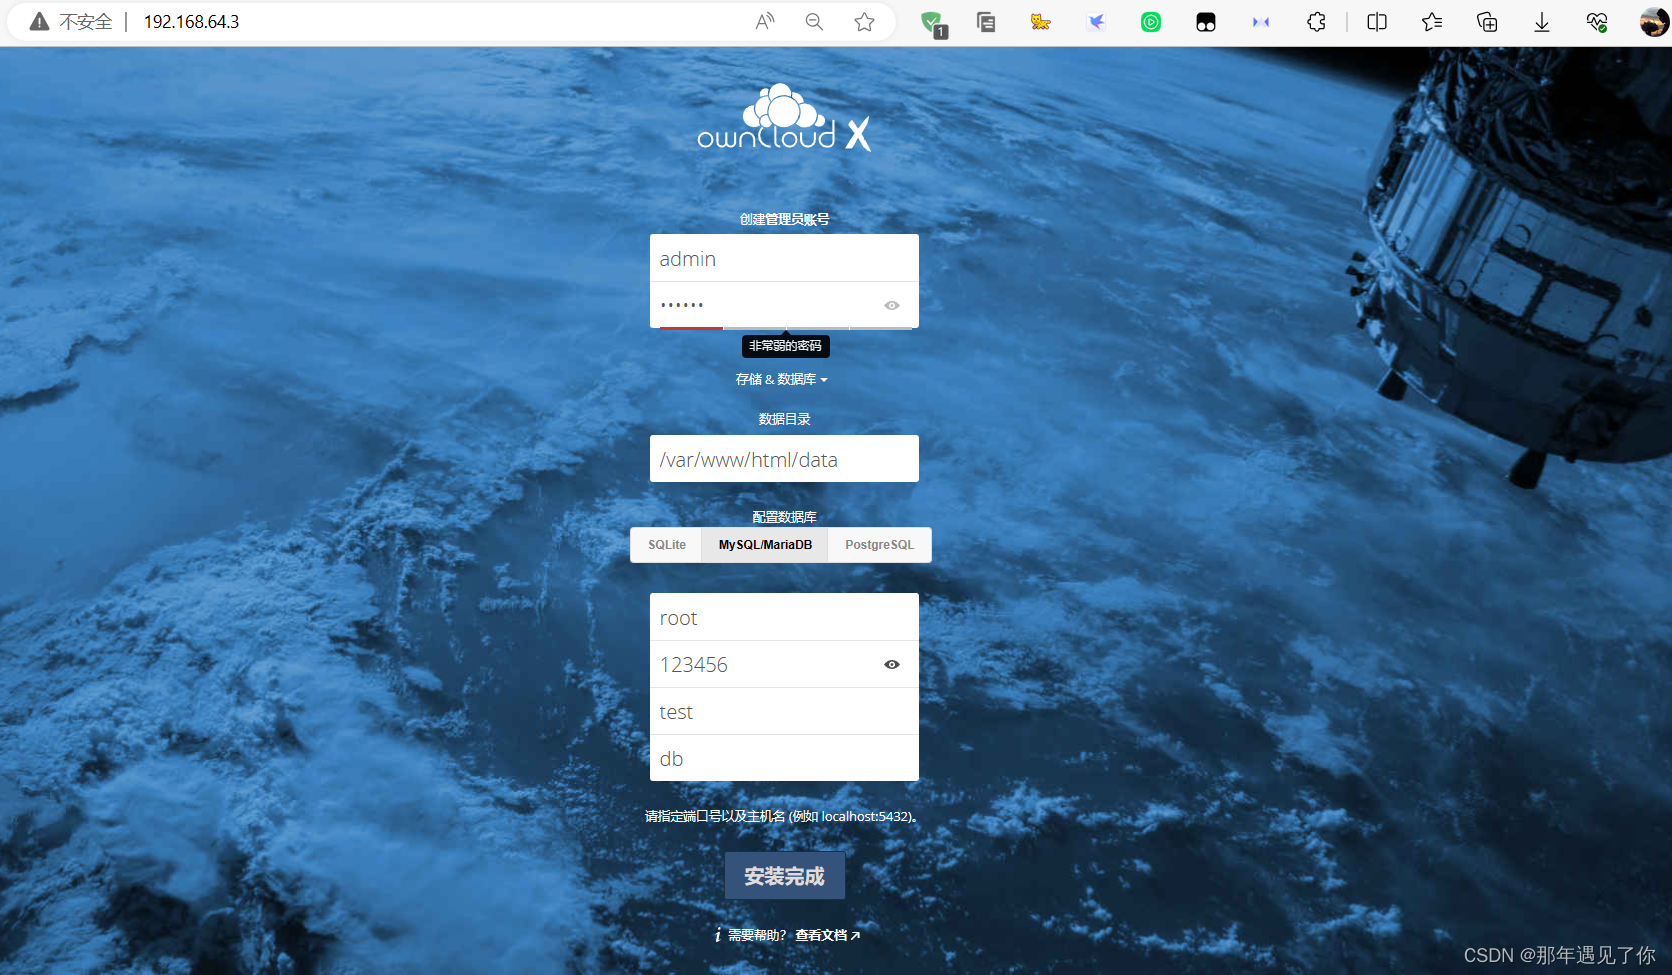
[root@localhost ~]# docker run -d --name owncloud -p 80:80 --link db:db owncloud1.1 在浏览器中输入网盘服务器的IP地址,进行账号注册
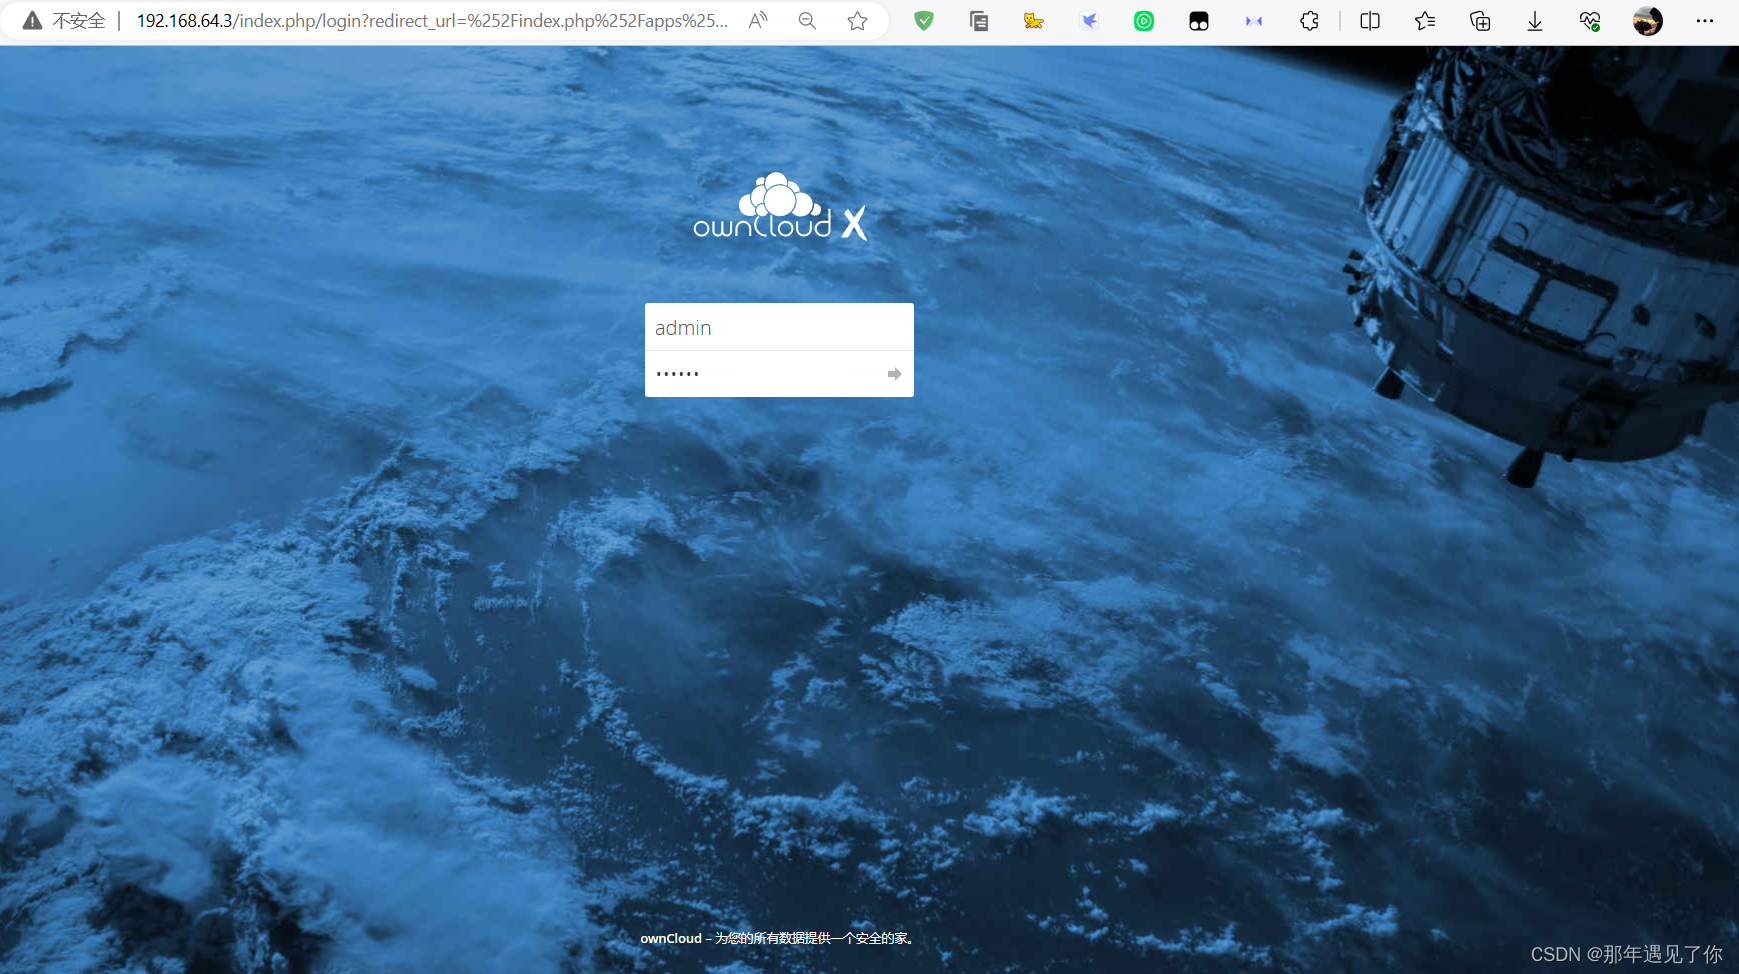
1.2 注册完成,登录账号
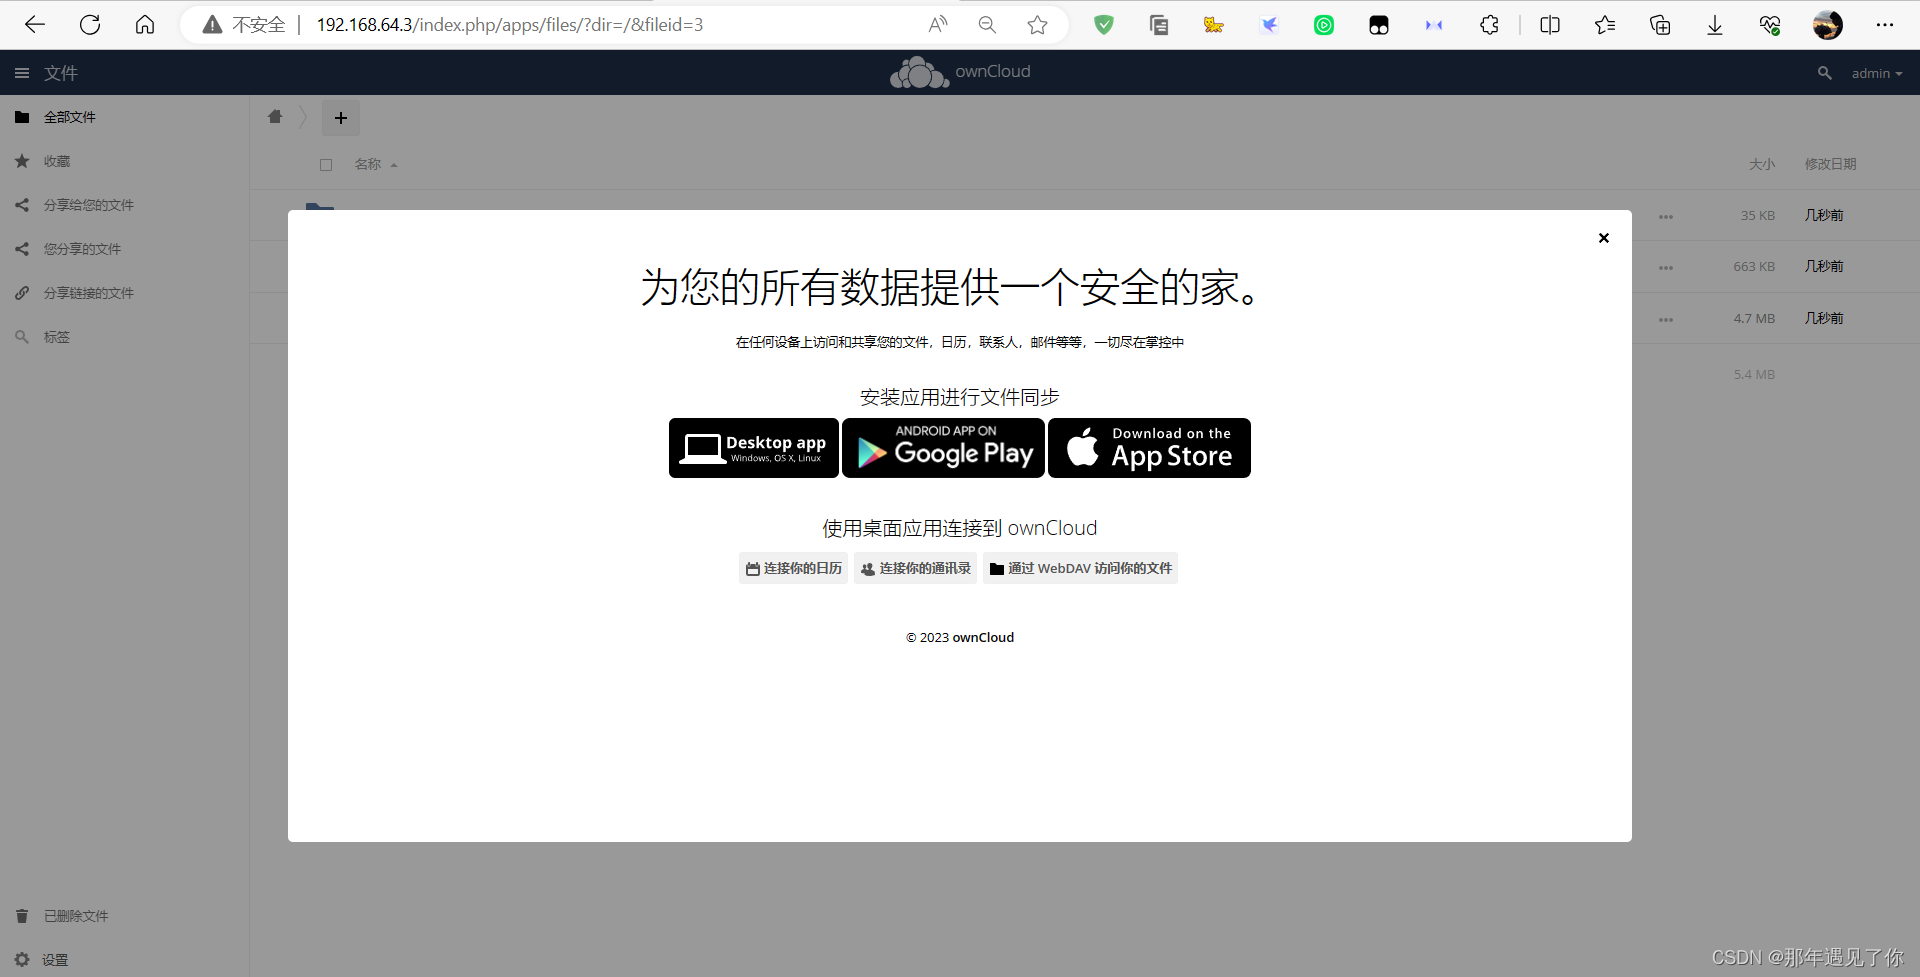
1.3 登录成功,并上传测试文件
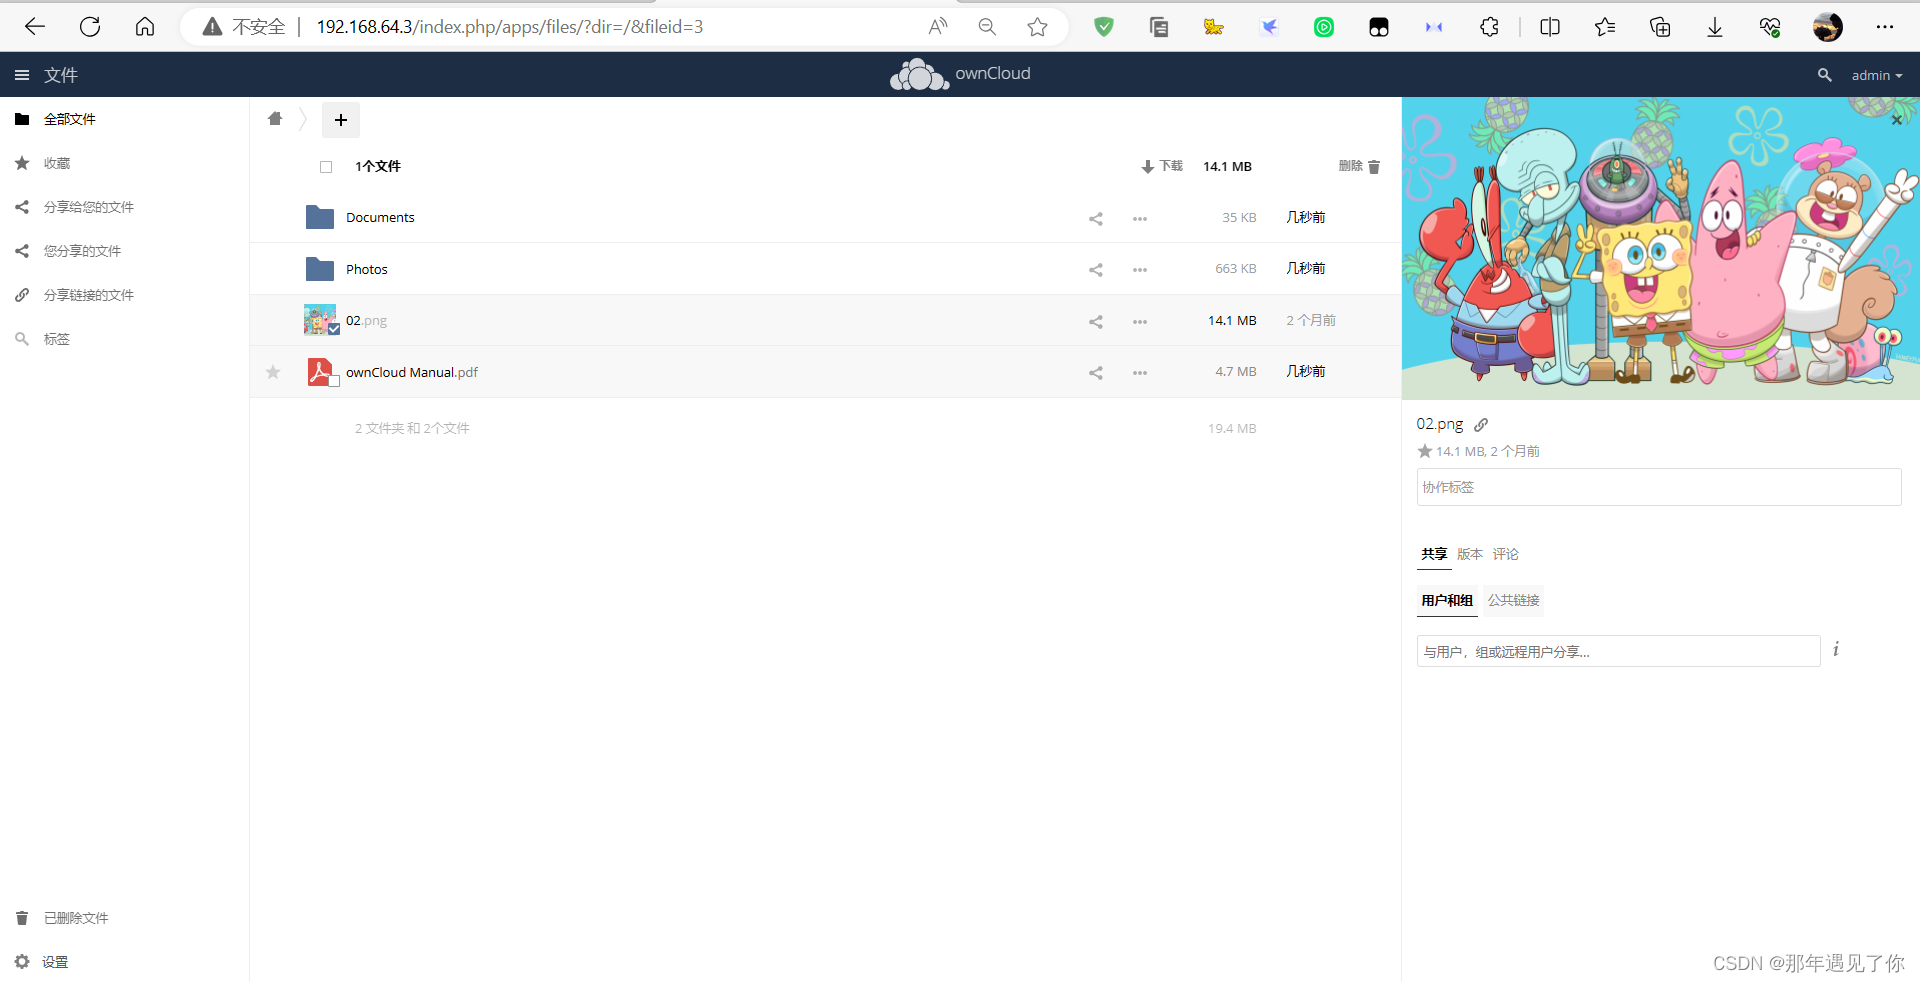
1.4 查看上传成功的文件
2.安装搭建私有仓库 Harbor
2.1 上传Harbor离线安装包
[root@localhost ~]# ll
[root@localhost ~]# tar xf harbor-offline-installer-v2.4.1.tgz
[root@localhost ~]# ls
[root@localhost ~]# cd harbor/
[root@localhost ~]# cp harbor.yml.tmpl harbor.yml2.2 修改配置文件
[root@localhost harbor]# vim harbor.yml
//这里改动三个地方:hostname、port、注释https的内容
hostname: harbor.openlab.cn
http:port: 80
#https:#https port for harbor, default is 443#port: 443#The path of cert and key files for nginx#certificate: /your/certificate/path#private_key: /your/private/key/path2.3 安装Harbor
[root@localhost harbor]# ./install.sh
[+] Running 10/10✔ Network harbor_harbor Created 0.0s ✔ Container harbor-log Started 0.3s ✔ Container redis Started 0.9s ✔ Container harbor-portal Started 0.5s ✔ Container registry Started 0.8s ✔ Container harbor-db Started 1.0s ✔ Container registryctl Started 0.9s ✔ Container harbor-core Started 1.1s ✔ Container harbor-jobservice Started 1.5s ✔ Container nginx Started 1.6s
✔ ----Harbor has been installed and started successfully.----
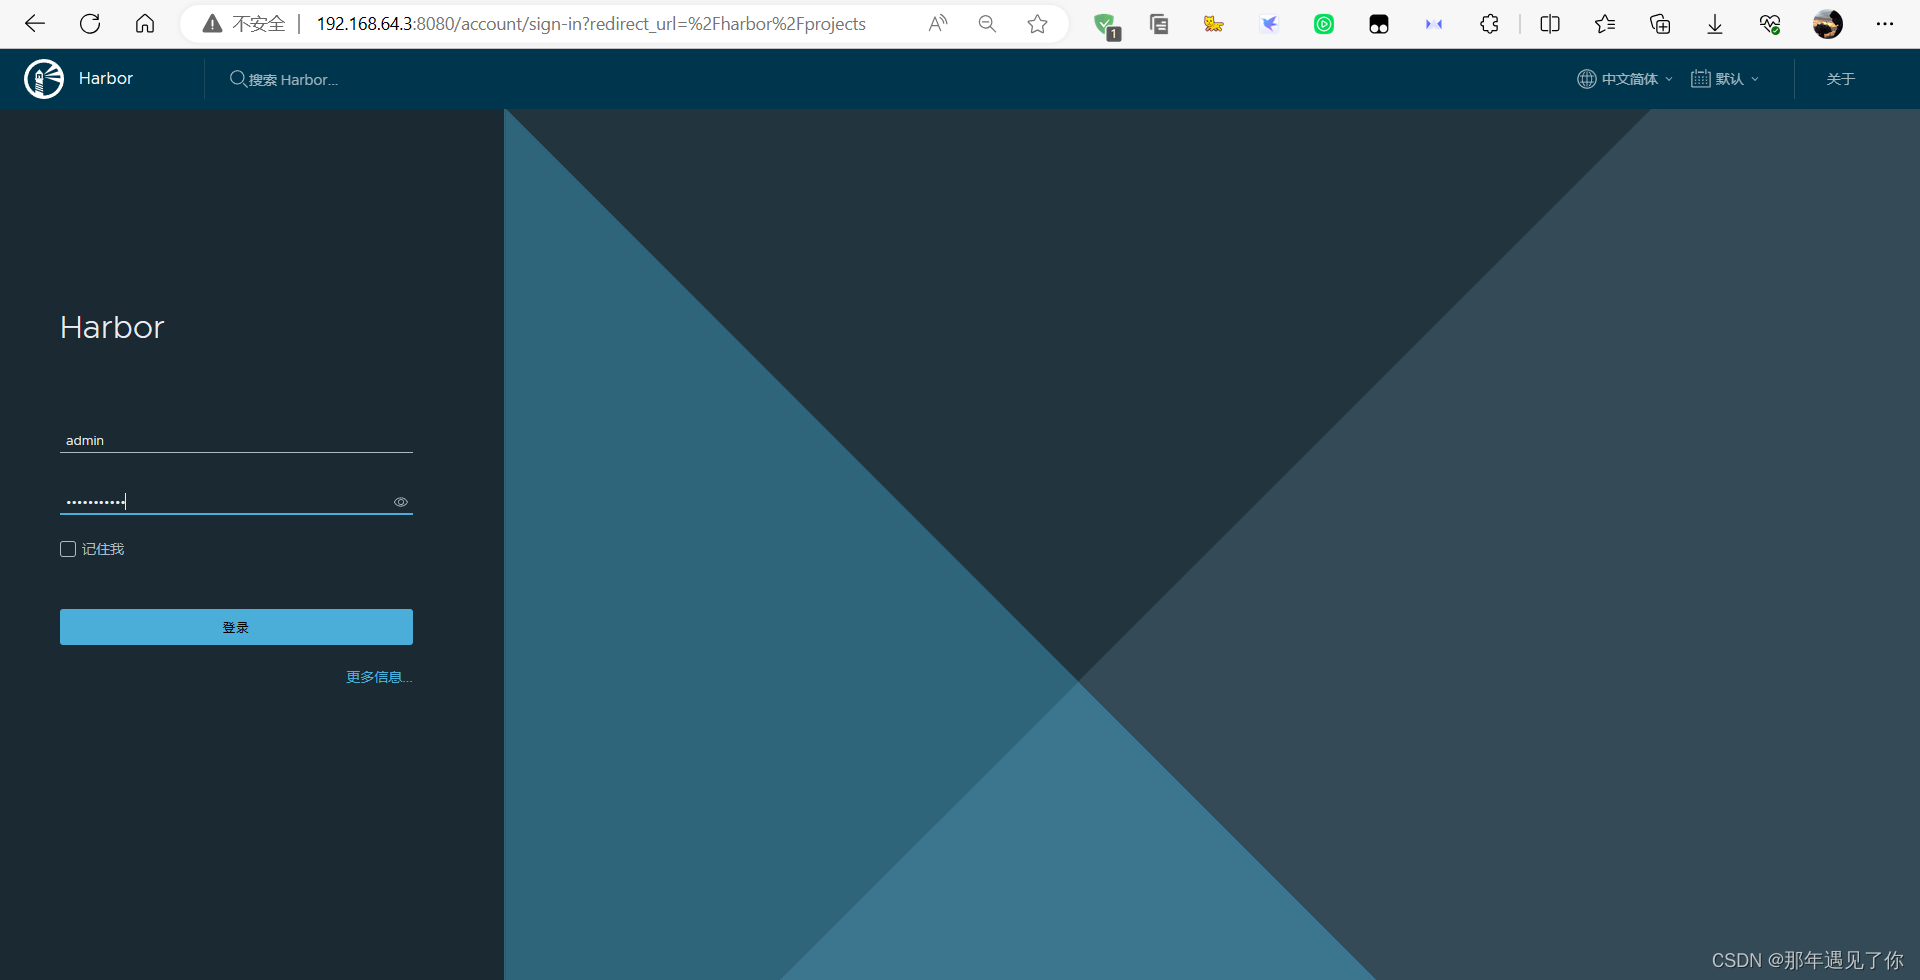
安装完成之后再浏览器中访问,默认账号为admin、密码为Harbor123452.3 在浏览器中访问Harbor
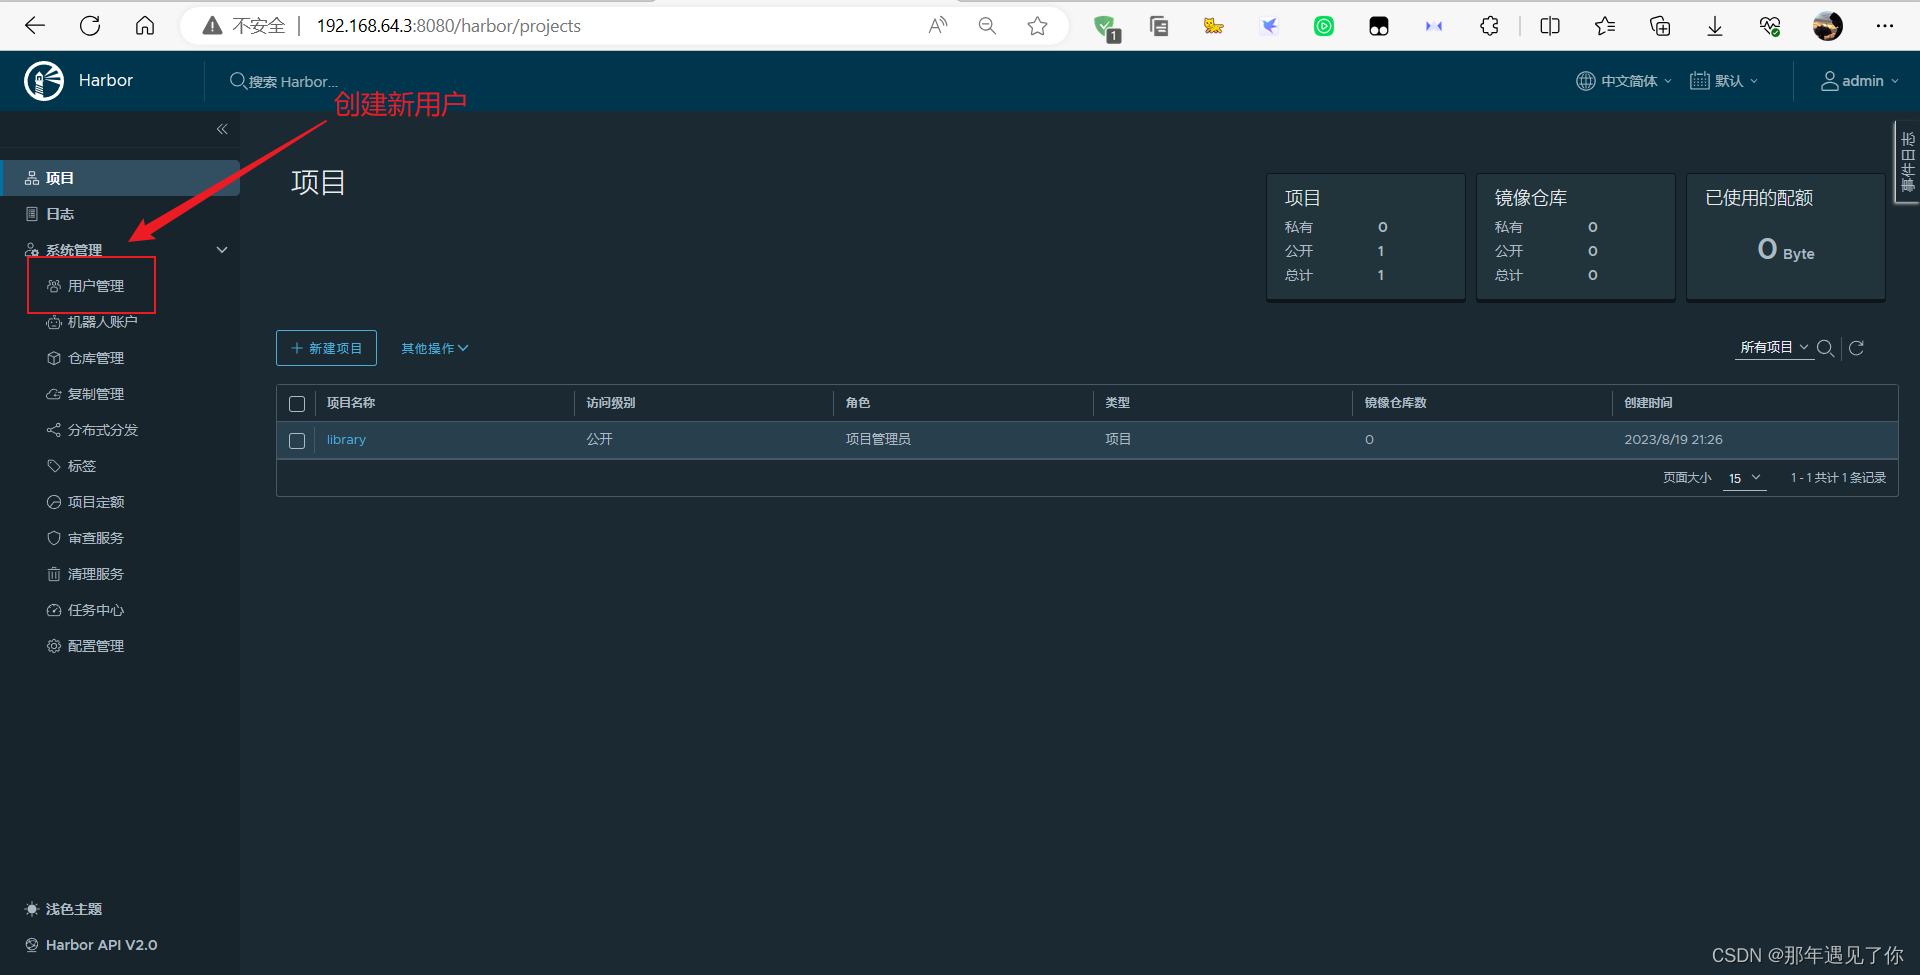
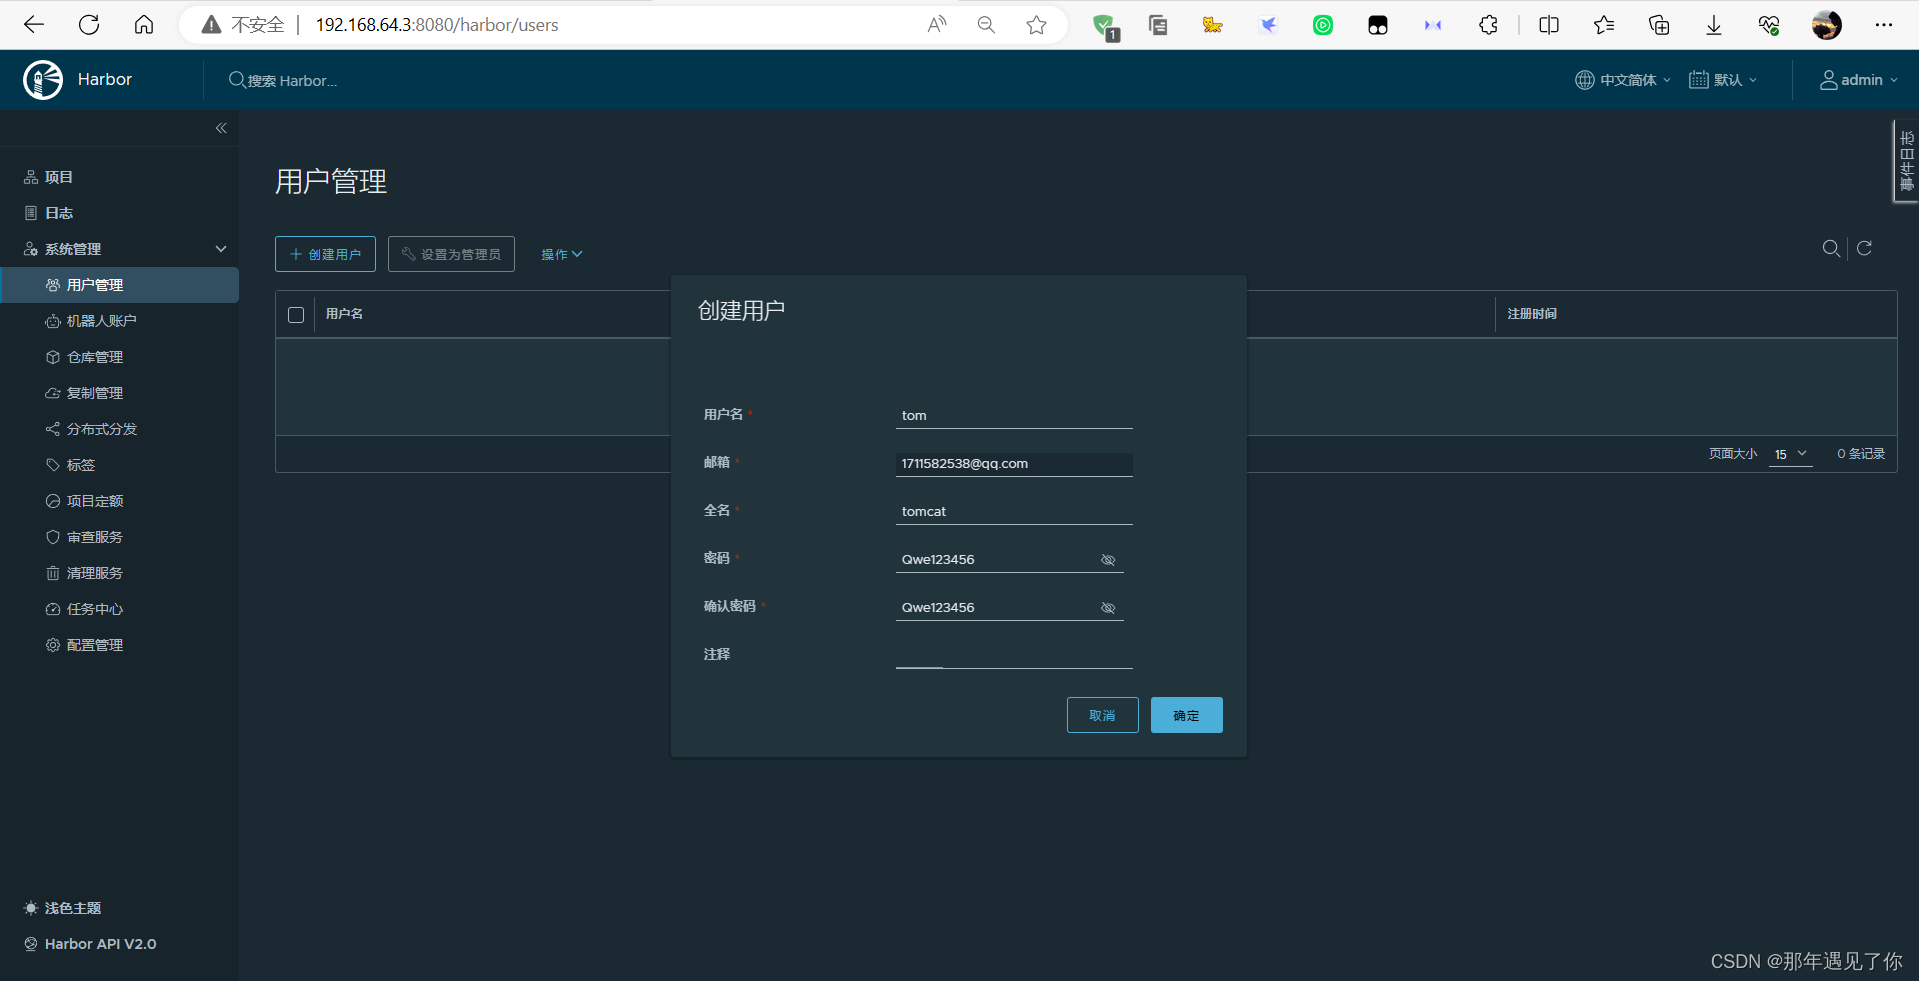
2.4 登录成功,创建用户tom
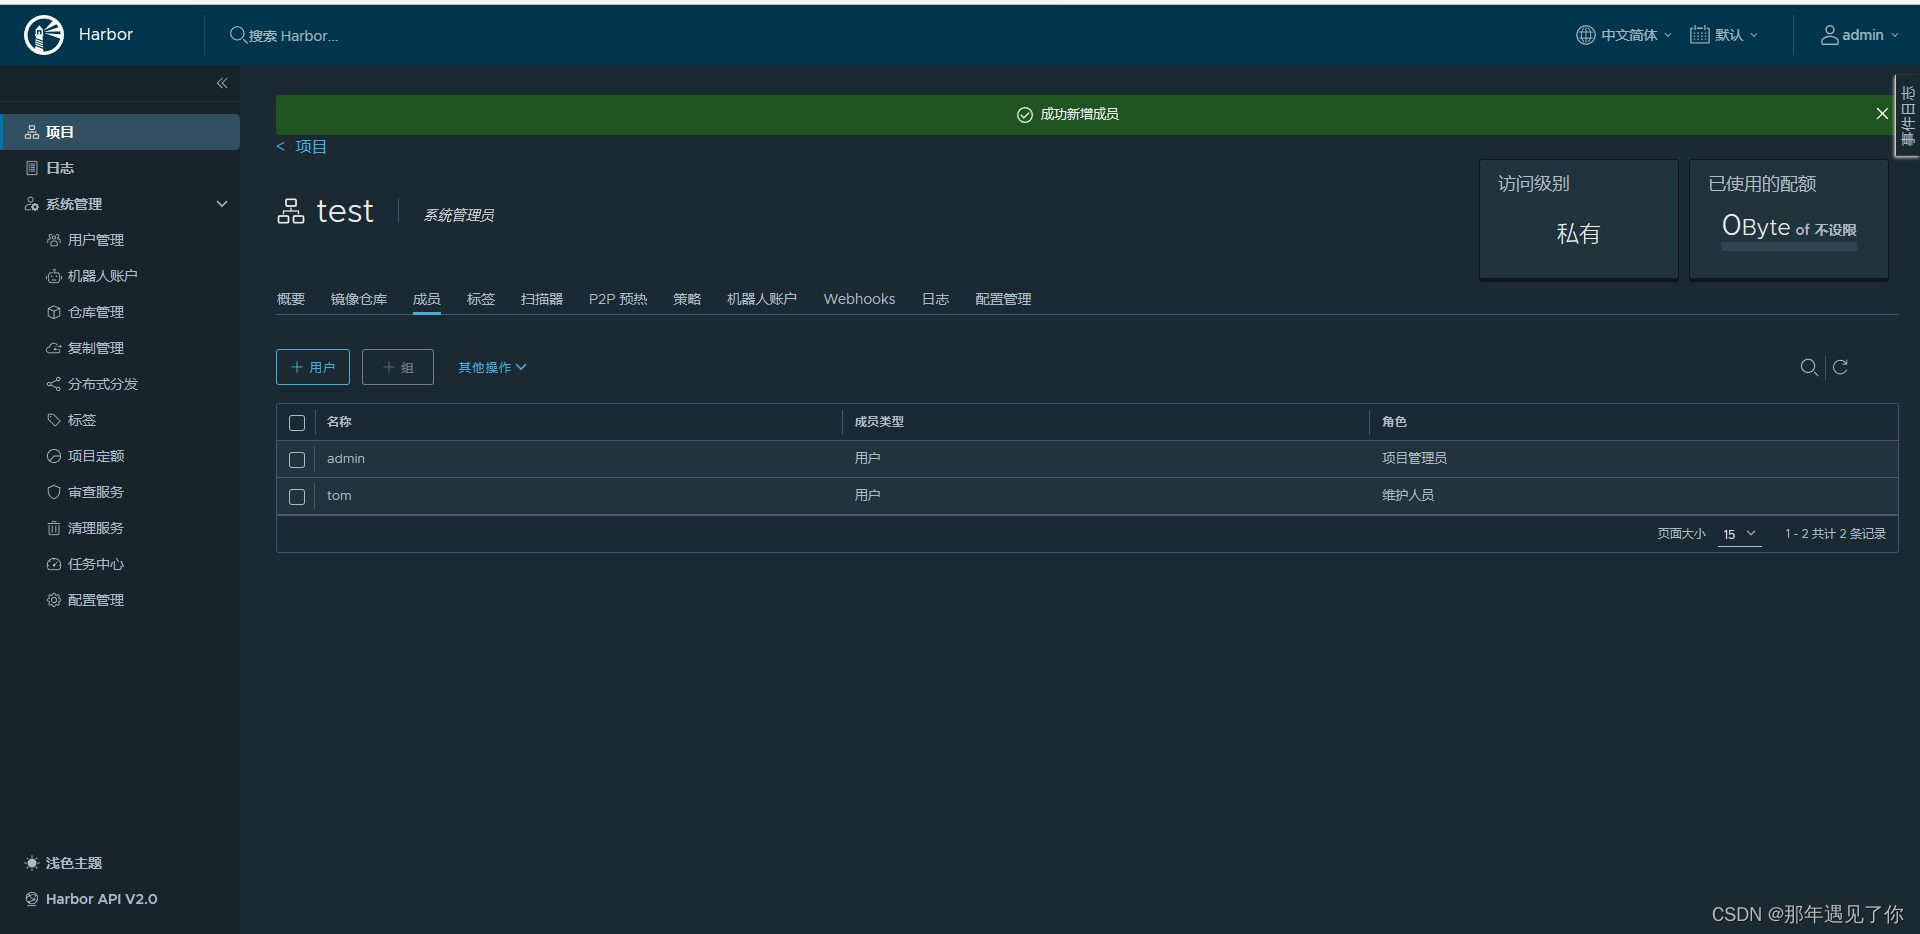
2.5 新建test项目,且添加用户tom
 2.6 修改daemon.json配置文件
[root@localhost harbor]# vim /etc/docker/daemon.json
{"registry-mirrors":["https://registry.docker-cn.com"],"insecure-registries":["192.168.64.3"],"insecure-registries":["harbor.openlab.cn"]
}2.7 修改hosts配置文件
[root@localhost harbor]# vim /etc/hosts
127.0.0.1   localhost localhost.localdomain localhost4 localhost4.localdomain4
::1         localhost localhost.localdomain localhost6 localhost6.localdomain6192.168.64.3 harbor.openlab.cn2.8 更改本地主机名
[root@localhost harbor]# hostnamectl set-hostname harbor.openlab.cn2.9 重启服务登录
[root@localhost harbor]# systemctl restart docker
[root@localhost harbor]# docker-compose up -d
[+] Running 9/7✔ Container harbor-log         Running                                                                                 0.0s ✔ Container harbor-portal      Started                                                                                 0.0s ✔ Container registryctl        Running                                                                                 0.0s ✔ Container harbor-db          Running                                                                                 0.0s ✔ Container registry           Started                                                                                 0.0s ✔ Container redis              Started                                                                                 0.0s ✔ Container harbor-core        Started                                                                                 0.0s ✔ Container nginx              Started                                                                                 0.0s ✔ Container harbor-jobservice  Started                                                                                 0.0s[root@localhost harbor]# docker login -u tom -p Harbor12345 192.168.64.3
注意:如果在输入第二条命令docker-compose up -d报错:-bash: docker-compose: command not found,则可以参考以下解决方案
1.从官网下载docker-compose插件
curl -L https://github.com/docker/compose/releases/download/1.23.2/docker-compose-$(uname -s)-$(uname -m) -o /usr/local/bin/docker-compose2.赋予该插件执行权限
chmod +x /usr/local/bin/docker-compose3.查看docker-compose版本信息
docker-compose --version
3.编写Dockerfile制作Web应用系统nginx镜像,生成镜像nginx:v1.1,并推送其到私有仓库
3.1 Dockerfile内容如下
FROM centos:7
MAINTAINER "yuchen <yuchen@domain.com>"
COPY epel.repo /etc/yum.repos.d
RUN yum install -y nginx
COPY index.html /usr/share/nginx/html/EXPOSE 80
CMD ["/usr/sbin/nginx","-g","daemon off;"]3.2 制作镜像nginx:v1.1
[root@harbor nginx]# docker build -t nginx:v1.1 ./3.3 验证镜像
[root@localhost nginx]# docker run -p 8080:80 --name ng111 nginx:v1.1
[root@localhost nginx]# docker ps | grep ng111
a95b39e9e7ce   nginx:v1.1                           "/usr/sbin/nginx -g …"   8 minutes ago   Up 8 minutes              0.0.0.0:8080->80/tcp, :::8080->80/tcp   ng1113.4 上传镜像至Harbor
[root@localhost ~]# docker tag nginx:v1.1 node1.openlab.cn/test/nginx:v1.1
[root@localhost ~]# docker push node1.openlab.cn/test/nginx:v1.1
4.Dockerfile快速搭建自己专属的LAMP环境,生成镜像lamp:v1.1,并推送到私有仓库
4.1 Dockerfile文件如下
FROM centos:7
MAINTAINER "1711582538 <1711582538@qq.com>"
RUN yum install -y httpd mariadb-server php php-mysql php-gd
RUN echo "welcome to my pages" > /var/www/html/index.html
EXPOSE 80
EXPOSE 3306
CMD ["httpd","-DFOREGOUND;"]4.2 验证镜像
FROM centos:7
MAINTAINER "1711582538 <1711582538@qq.com>"
RUN yum install -y httpd mariadb-server php php-mysql php-gdRUN mkdir -p /scripts
COPY dd.sh /scripts
WORKDIR /scripts
RUN chmod +x dd.sh
RUN ./dd.sh
EXPOSE 80
EXPOSE 3306#!/bin/bashchown -R mysql:mysql /var/lib/mysql
mysql_install_db --user=mysql > /dev/nullmysql_sage --user=mysql &
/usr/sbin/httpd -D FOREGROUND4.3 编辑文件
[root@harbor lamp]# docker build -t lamp:v1.1 ./
[root@lharbor lamp]# docker run -it -p 88:80 lamp:v1.1
[root@lharbor lamp]# cd /var/www/html/
[root@harbor lamp]# vim index.php<?php
phpinfo();
?>4.4 上传镜像
[root@harbor ~]# docker tag lamp:v1.1 node1.openlab.cn/test/lamp:v1.1
[root@harbor ~]# docker push node1.openlab.cn/test/lamp:v1.1